Evetro v2.0.3 - How to create a retrospective

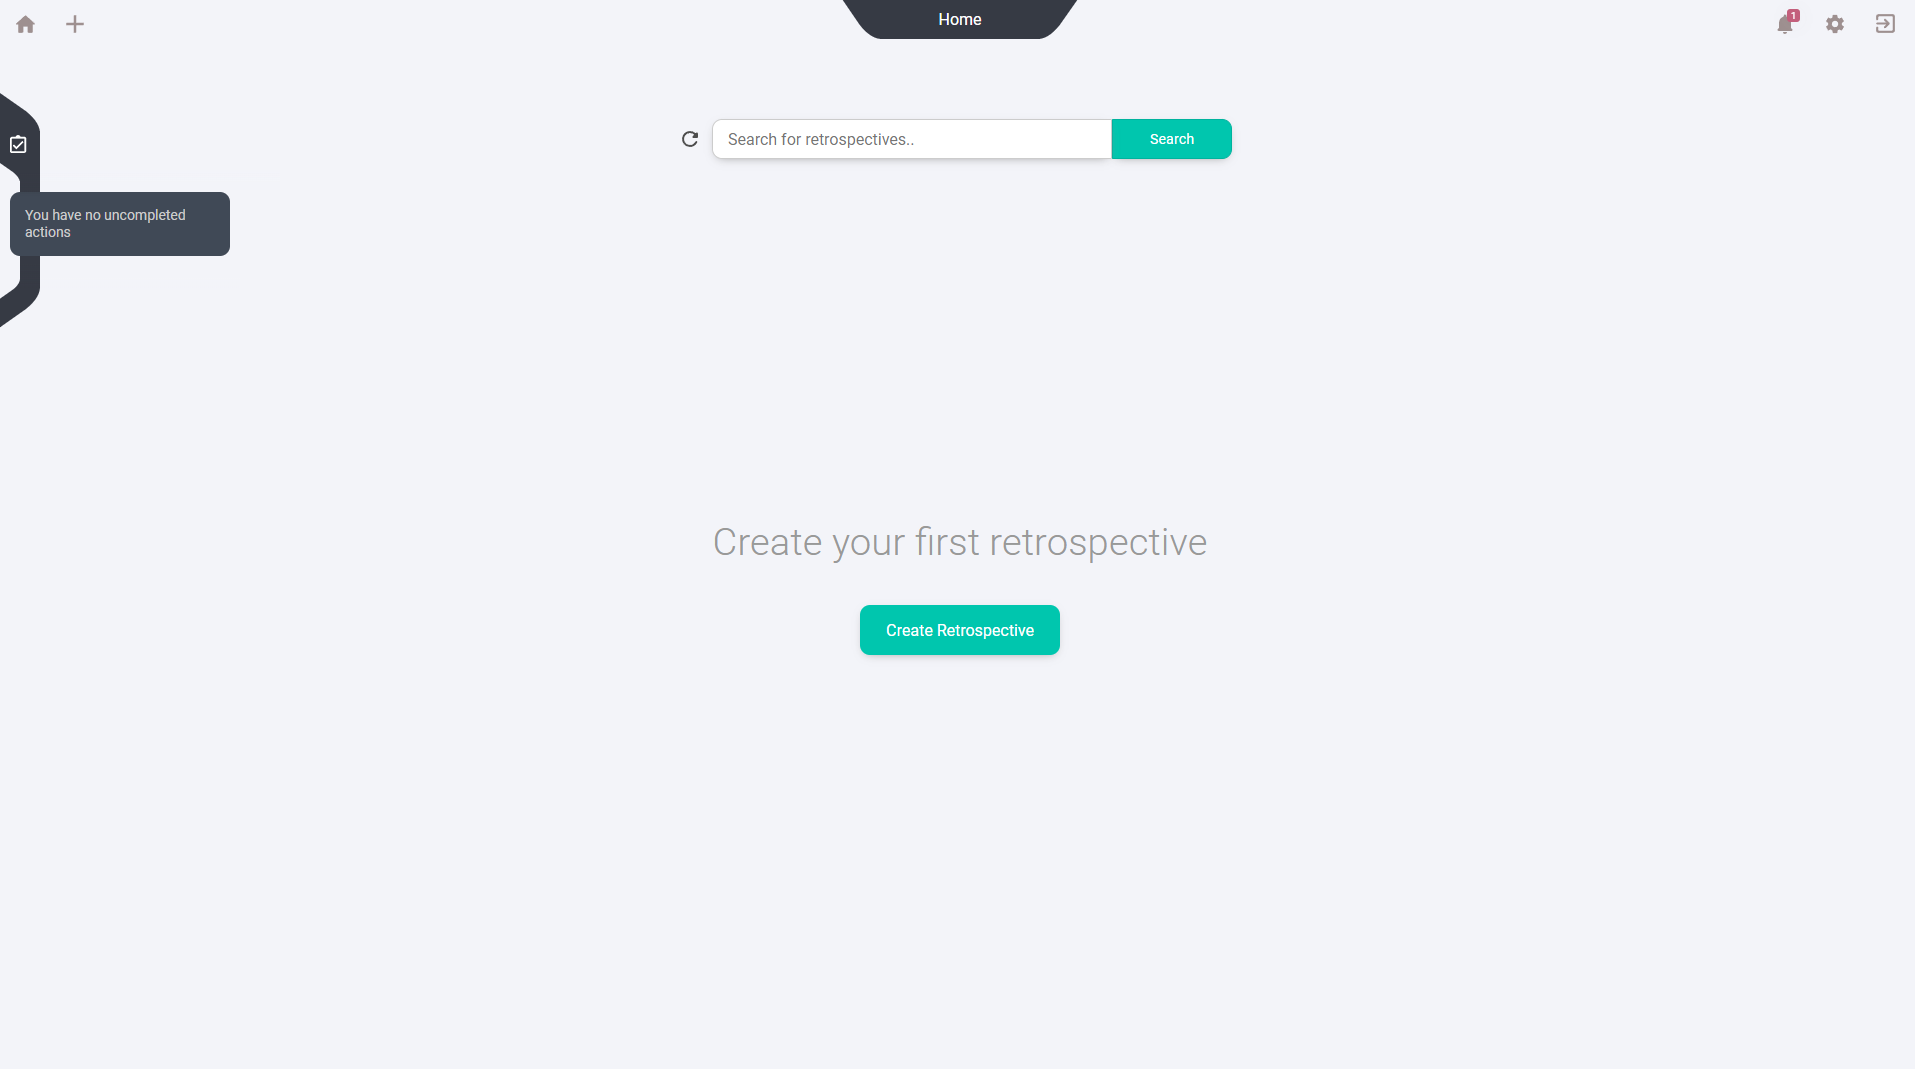
To create your first retrospective, you can simply click on this big button in the middle of the screen. You can also create new ones on + icon up to the left.
The first thing you will see is an overview of your templates. You can learn more about them by hovering over them and clicking the info button. Here you can see an overview of the activities this templates contains.
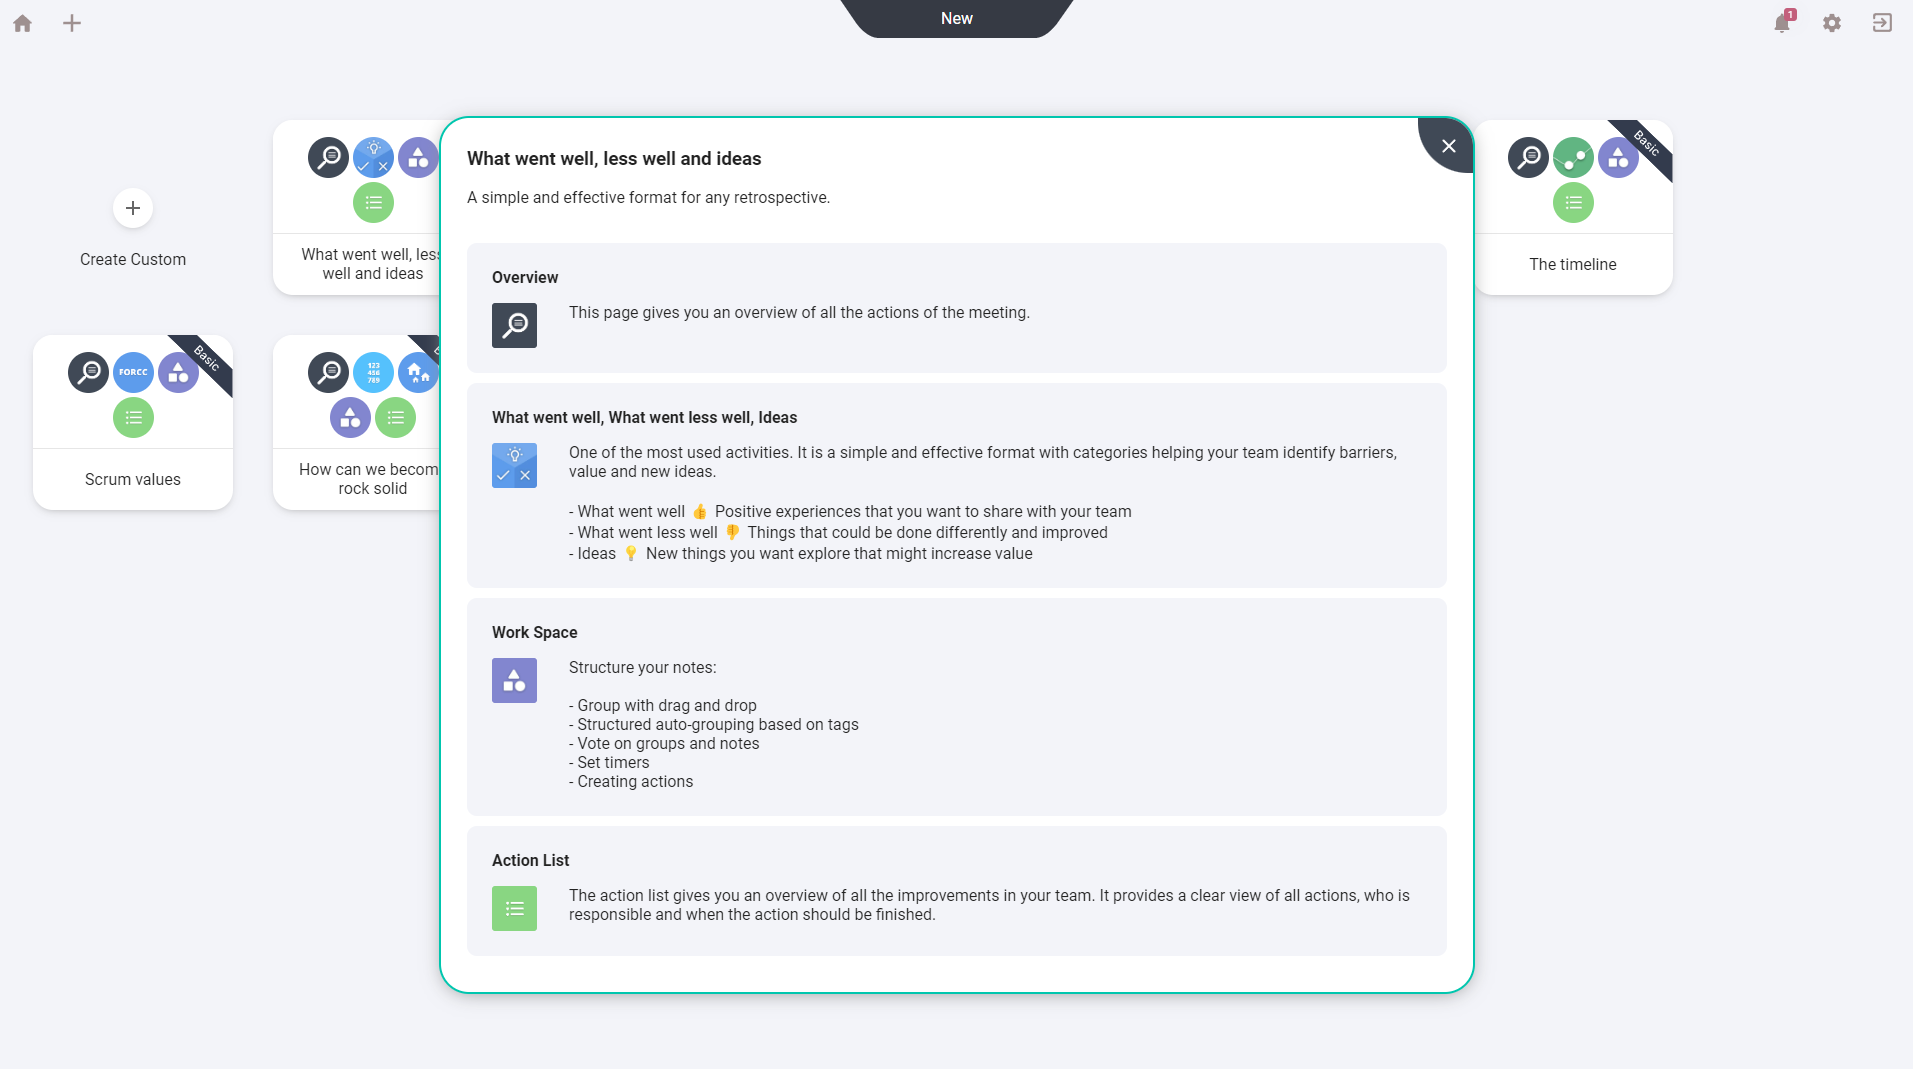
Let's pick this template: What went well, What went less well and ideas.
Now you will see your participants on the left. You can add more members later by simply sharing a link to the retro. In the middle you see the activities from the template you chose. You can edit these by clicking on them if you want. You can set the date and time for your session here. By default it chooses the current day.
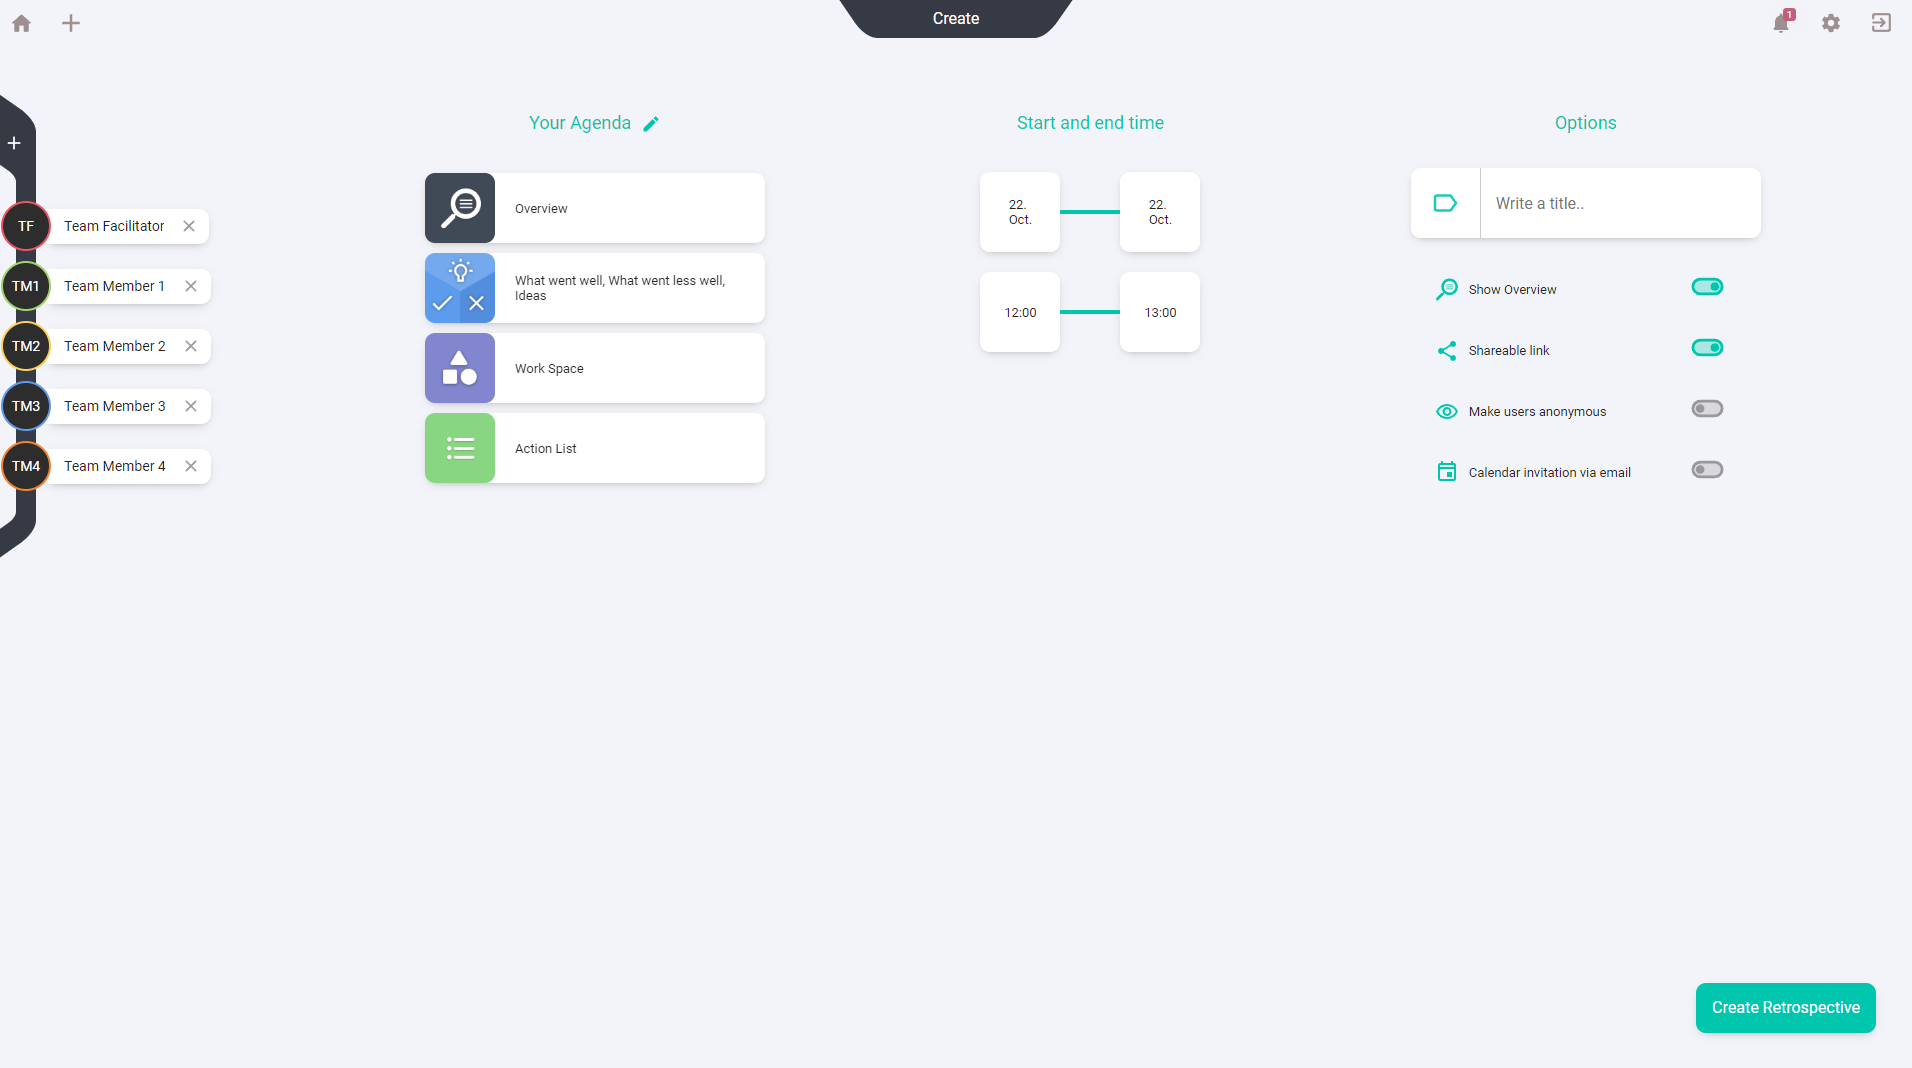
The final thing you have to do before creating a retro is to give it a name. If you want, you can make it anonymous by activating "ake users anonymous". If you don't want an open access link for possible guests you can turn off shareable link, and if you want to plan ahead, you can send out calendar invitations by switching this on.
Click the green button on the bottom right, to create your retro.
Alright, you have now created your first retrospective. Simply share the link with others and get started.